5+ Shopify Sample Products CSV Download For Niches (Spreadsheet guide)
Uploading products to your Shopify store in bulk can be a game-changer for efficiency, but only if done right. That’s where the Shopify product import CSV template comes in—a structured, time-saving solution to seamlessly upload product data. In this guide, we’ll walk you through using the CSV template and share practical spreadsheet tips to ensure your import process is smooth and error-free.
Download Shopify dummy products CSV template with a Spreadsheet guide!
See more:
- 5+ Free Shopify shipping policy templates [Google Docs]
- 17 Best Shopify Blog Templates in 2025 (Free + Paid)
- What is eCommerce Product Configurator? Benefits, types & examples

What is Shopify sample products csv template?
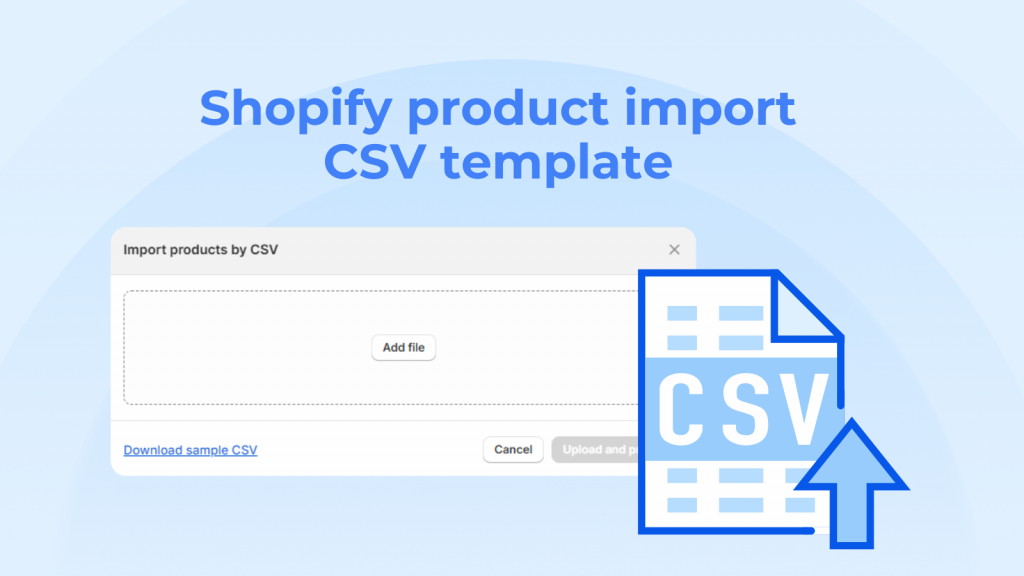
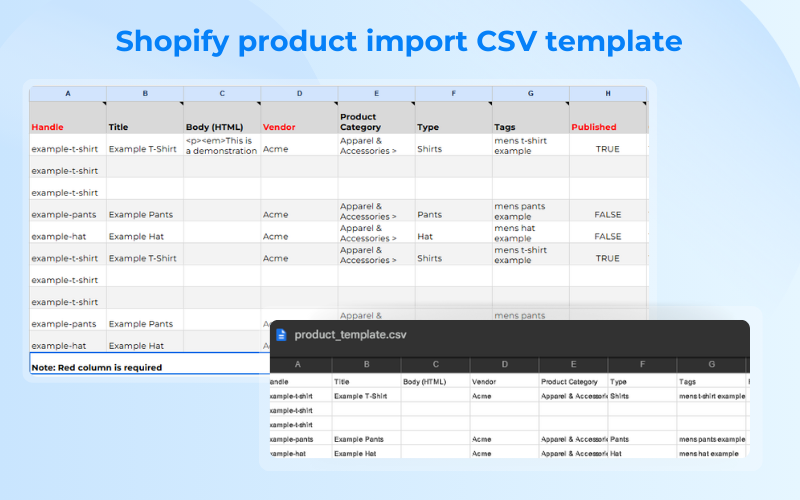
The Shopify product import CSV template (or shopify sample products CSV) shows you exactly how to format product data for a smooth import into your store. Shopify test products CSV organizes information into clear, structured columns. You can open this CSV file in any spreadsheet editor like Google Sheets or Excel.
The benefits of using a Shopify product upload template:
- Time-Saving: Simplifies the process of adding multiple products to your Shopify store.
- Bulk Import & Export: Facilitates the efficient transfer of product details in large volumes.
- Error Prevention: Ensures accurate data entry by providing a structured format for product information.
- Data Formatting Guidance: Demonstrates how product data should be correctly formatted to ensure successful imports.
- Product Variant Management: Offers specific columns for details like size, color, and price.
- Streamlined Image Uploads: Allows the direct inclusion of image URLs in the sample products CSV file.
- Cross-Platform Compatibility: Supports the seamless exchange of product information between Shopify and other platforms.
Shopify sample products CSV download
Shopify CSV Format
The Shopify CSV format is a specific structure used to import and export product data in bulk for Shopify stores. It is a UTF-8 encoded comma-separated values file where each row represents a product or variant, and each column corresponds to a product attribute. Key Required Columns in Shopify Product CSV:
| Column | Description | Required? | Example Value |
|---|---|---|---|
Handle | Unique identifier for the product (used to group variants). | Yes | blue-t-shirt |
Title | Product name. Required for the first row of a product. | Yes (first row) | Blue T-Shirt |
Body (HTML) | Product description, supports HTML formatting. | No | <p>Soft cotton t-shirt.</p> |
Vendor | Brand or supplier name (must be 2+ characters). | Yes | Acme Clothing |
Type | Product type or category. | No | T-Shirts |
Tags | Comma-separated tags for filtering/searching. | No | casual, cotton, blue |
Published | Whether the product is published (TRUE or FALSE). | No | TRUE |
Option1 Name | Name of the first option (e.g., Size, Color). | Yes (if variants) | Size |
Option1 Value | Value for the first option. | Yes (if variants) | Medium |
Option2 Name | Name of the second option (if applicable). | No | Color |
Option2 Value | Value for the second option. | No | Blue |
Variant SKU | Stock Keeping Unit for the variant. | No | BT-M-BLUE |
Variant Grams | Weight of the variant in grams. | Yes (if shipping) | 200 |
Variant Inventory Qty | Inventory quantity for the variant. | No | 50 |
Variant Inventory Policy | deny (block sales when out of stock) or continue (allow sales). | No | deny |
Variant Price | Price of the variant. | Yes | 29.99 |
Variant Compare At Price | Original price for discounts (optional). | No | 39.99 |
Variant Requires Shipping | Whether the variant requires shipping (TRUE or FALSE). | No | TRUE |
Variant Taxable | Whether the variant is taxable (TRUE or FALSE). | No | TRUE |
Variant Barcode | Barcode (UPC or ISBN) for the variant. | No | 123456789012 |
Image Src | URL to the product image. | No | https://example.com/image.jpg |
Image Position | Position of the image (1 for primary, 2, 3, etc.). | No | 1 |
Image Alt Text | Alt text for the image. | No | Blue T-Shirt Front |
Gift Card | Whether the product is a gift card (TRUE or FALSE). | No | FALSE |
SEO Title | SEO title for the product page. | No | Blue T-Shirt - Acme Clothing |
SEO Description | SEO meta description for the product page. | No | Shop our soft blue t-shirt. |
Status | Product status: active, draft, or archived. | Yes | active |
How to use the Shopify product upload template?
To import products to Shopify using a CSV file, here are the general steps:
1. Get a Shopify sample CSV file: You can download Shopify demo product csv from within Shopify or using our Shopify product CSV template here. The template shows how the product data should be formatted.
Download Shopify product import CSV template from within Shopify
2. Work with the CSV file: Open the Shopify sample data CSV in a spreadsheet editor such as Google Sheets or Excel. It is crucial to maintain the exact column order as in the sample CSV file. Do not rearrange, move, or delete any headers, as this can cause problems during import. You can use Simicart’s sample Shopify product CSV template to understand more about the formatting rules.
3. Add product information to the CSV file:
- If a product has no variants, enter all the details for that product in a single row.
- For products with variants, enter the main product details in the first row, including the URL for the first image. In the next rows, re-enter the handle, but leave the Title, Body (HTML), Vendor, and Tags columns empty. Fill in the details specific to that variant, like size, color, price, and the URL for the image of that specific variant.
4. Prepare images:
- If the image files are on a computer, upload them to Shopify first. Go to the “Content” section in Shopify admin, click “Files,” and then click “Upload files” to create an image URL for each image.
- Copy and paste the image URLs into the Shopify dummy products CSV file.
5. Import the CSV file:
- Save the CSV file.
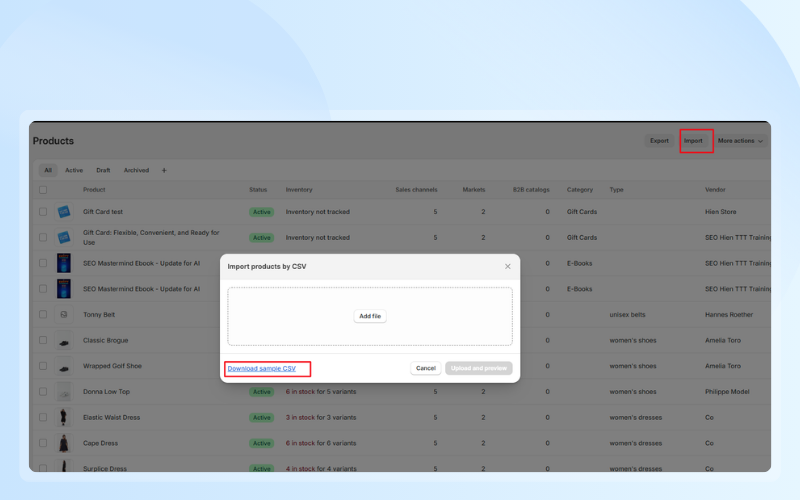
- In the Shopify admin, click “Products,” then click “Import”.
- Select the CSV file.
- If desired, choose the option to overwrite existing products with the same handle.
- Preview the products and review them carefully. If there are any errors, they can be fixed in the CSV file and re-uploaded.
- Click “Import” to add the products to the store.
6. Check the products
- Go to the “Products” page and check the imported items.
- Make sure the images are there, the variations are set up correctly, and all the details look good.
- Edit the details if needed.
(How to Add Products using a CSV file || Shopify Help Center)
Shopify sample products CSV download for free
Download our free Shopify product import CSV templates, tailored for various niches like apparel, fashion, home and garden, and more. Whether you’re launching a new collection or migrating products, these ready-to-use templates simplify the process and save you valuable time. Get started today and keep your inventory organized effortlessly!
Templates include:
- Fashion product import CSV template
- Apparel product import CSV template
- Home and Garden product import CSV template
- Jewelry product import CSV template
- Shopify product import guide in Google Sheets
Tips for smoother Shopify product CSV import
To ensure a smoother Shopify product CSV import, consider the following:
- Accuracy is key for a successful import.
- Test with a few products first to catch any errors.
- Always have a backup. Create two copies of the CSV file—use one for making changes and keep the other as a backup. Also, store an extra copy of the product images in another folder.
- Ensure that the Shopify CSV import file has been accurately formatted; otherwise, Shopify will not be able to read the CSV files and handle the data.
- Column headers are case-sensitive, so be careful when entering the value.
When updating products with a CSV file, be aware of data dependencies:
- If a non-required column in the import CSV file is blank, then the matching value in the product list is overwritten as blank.
- If a non-required column isn’t included in the import CSV file but is included in the existing product list, then the value in the product list remains the same.
- If a non-required column is included in the import CSV file that relies on other column data not included in the file, then existing data is deleted or removed.
Mastering the Shopify product import CSV template empowers you to manage your store’s inventory quickly and accurately. By following the spreadsheet tips shared here, you’ll minimize errors and save valuable time. If you have any questions, don’t hesitate to contact us for expert guidance about Shopify store development!
Ready to streamline your product upload process? Let’s get those products live in no time!